 Home / News / Industry News / Handmade Sandwich Panel: How to Build Your Own Insulated Panels at Home
2026-08-18
Content
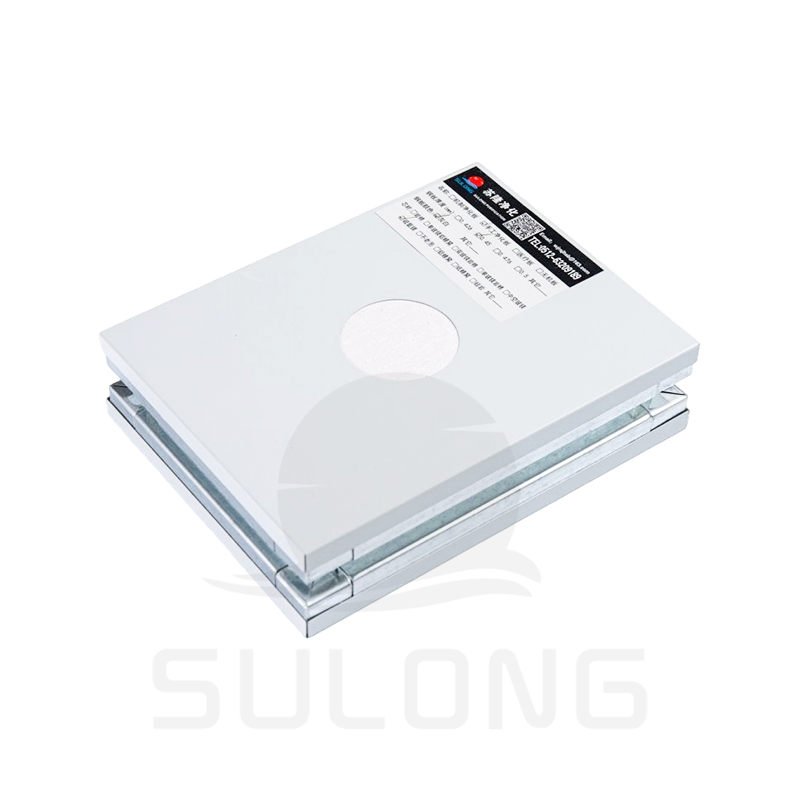
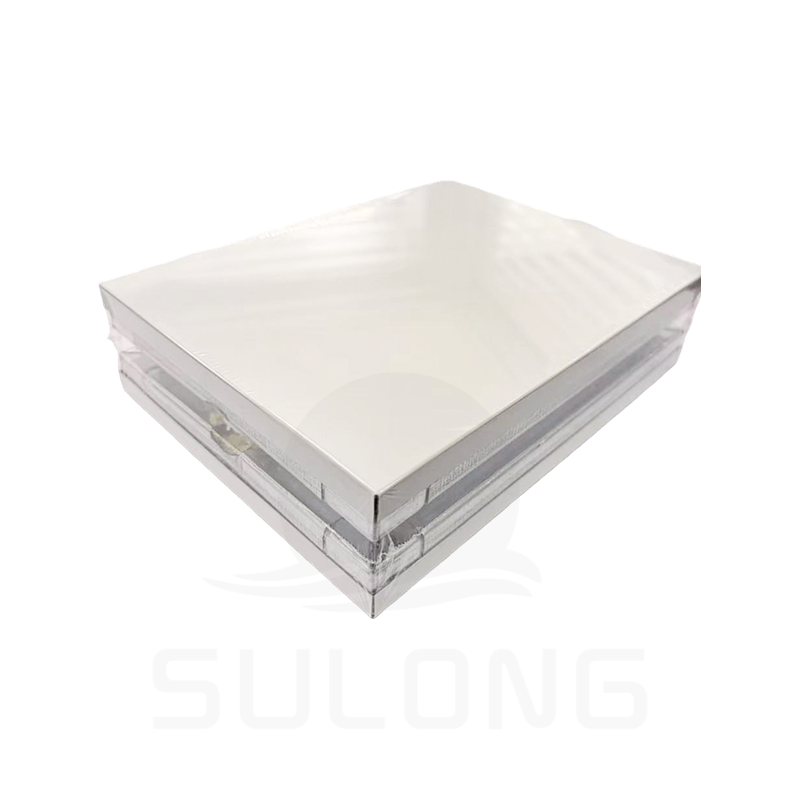
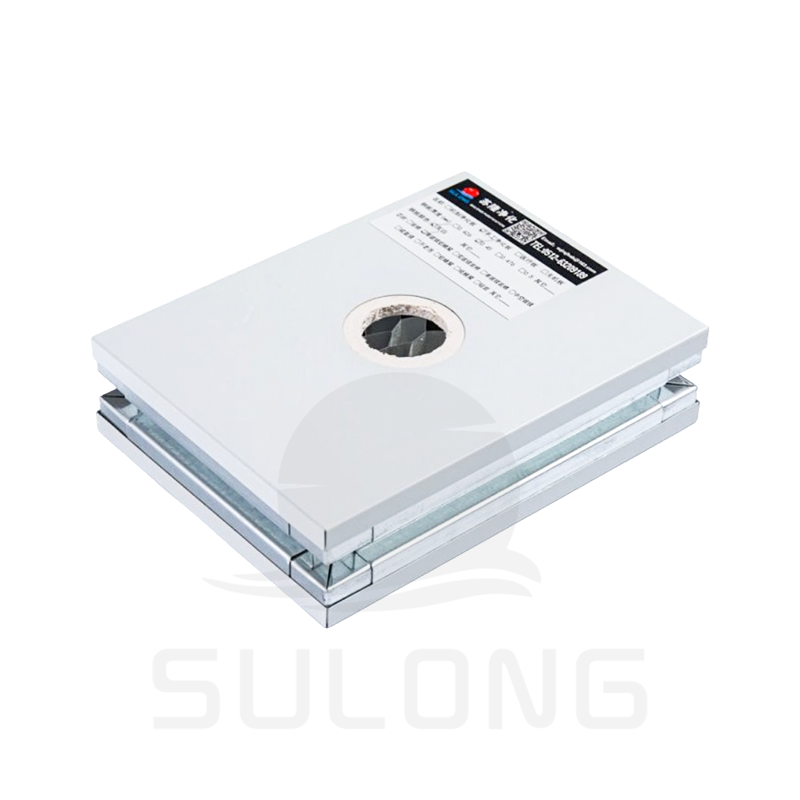
A handmade sandwich panel is basically a DIY version of the factory-made composite panels you see used in warehouses, cold storage rooms, garden sheds, and even tiny houses. Instead of ordering pre-manufactured panels, you build them yourself by sandwiching a core insulation material between two outer skins, usually a metal sheet, plywood, or fiber cement board. The result is a lightweight but strong panel that insulates well and can be cut to whatever size your project needs.
People choose to make their own sandwich panels for a few reasons. First, buying factory panels in small quantities is often expensive because suppliers usually cater to bulk industrial orders. Second, DIY panels let you customize thickness, core material, and surface finish based on your exact project, whether that's a chicken coop, a workshop wall, or a portable cabin. Third, for hobbyists and small contractors, building panels by hand is a satisfying and budget-friendly skill that pays off across multiple projects.
Before you start cutting and gluing, it helps to gather all your materials so the process goes smoothly. A handmade sandwich panel has three main components: the top skin, the core, and the bottom skin, plus adhesive and edge trim.
The core is the heart of any handmade sandwich panel because it determines the insulation value, weight, and cost of the finished product. Different cores suit different projects, so it's worth comparing them before you buy.
| Core Material | Insulation Level | Weight | Best Use |
| EPS Foam | Good | Very Light | Sheds, garden rooms, budget builds |
| XPS Foam | Very Good | Light | Cold rooms, exterior walls |
| Polyurethane Board | Excellent | Light | Cold storage, refrigerated units |
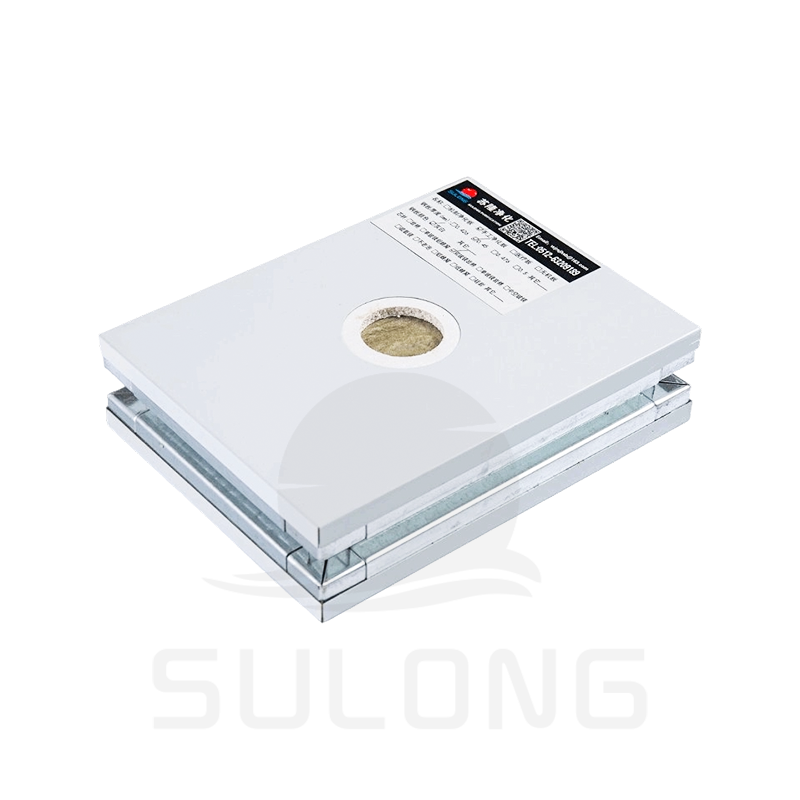
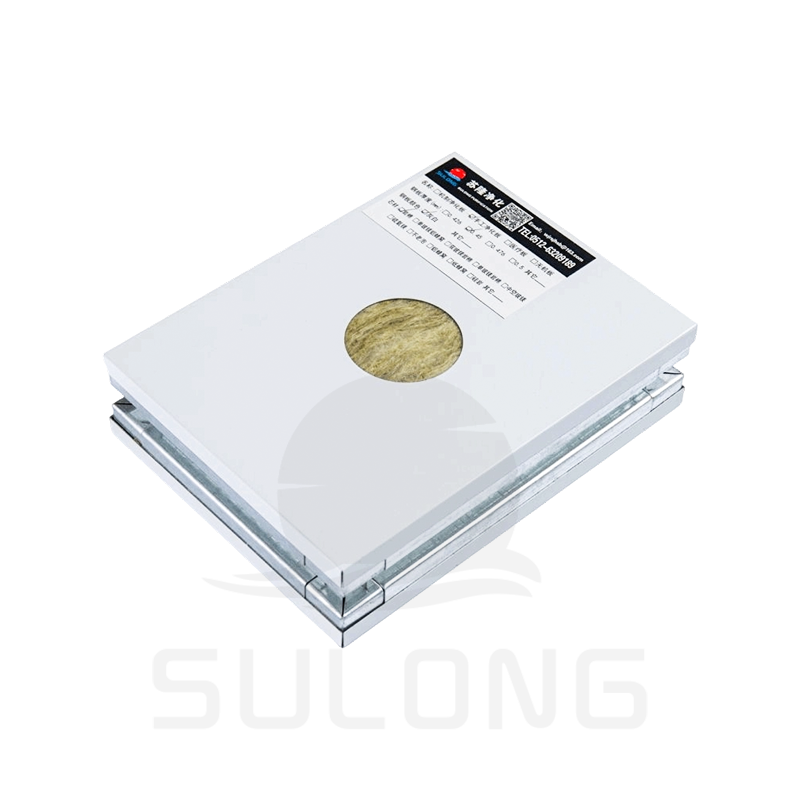
| Rock Wool | Good, Fireproof | Medium | Fire-rated walls, industrial sheds |
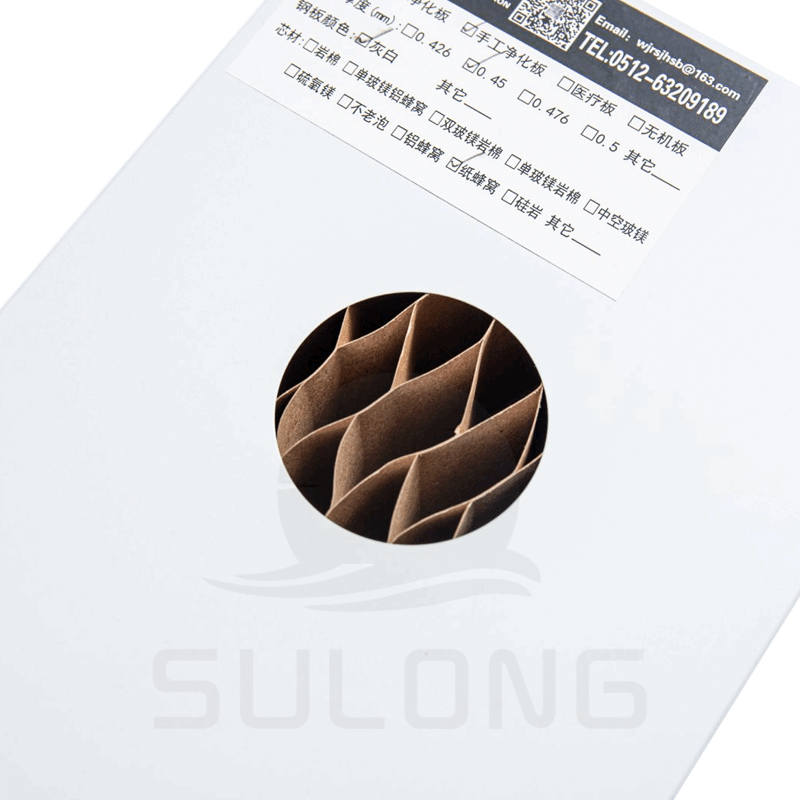
| Honeycomb Cardboard | Low | Very Light | Furniture, interior partitions |
Once your materials are ready, the actual assembly of a handmade sandwich panel follows a fairly repeatable sequence. Taking your time at each stage prevents warping, weak bonding, and uneven surfaces.
Measure your project dimensions carefully and cut both outer skins and the core material to matching sizes. Leave a small allowance of a few millimeters if you plan to trim the edges after assembly, since slight misalignment during pressing is common.
Clean both surfaces of the core and the inner faces of the skins to remove dust, grease, or moisture. A clean surface is essential for strong adhesion; even a thin layer of dust can weaken the bond significantly over time.
Spread the adhesive evenly across the core surface using a notched trowel or roller, making sure there are no gaps or thick lumps. Uneven adhesive application is one of the most common causes of panel delamination later on.
Place the core between the two skins and press firmly, working from the center outward to push out any trapped air. Use clamps, heavy boards, or weights across the entire surface to keep even pressure while the adhesive cures, typically for 12 to 24 hours depending on the product.
After curing, trim any uneven edges with a straightedge and utility knife or saw, then fit edge trim strips to protect the core from moisture and impact. Sealing the edges properly is what gives a handmade sandwich panel a long service life outdoors.
Even simple DIY sandwich panel projects can go wrong if a few key details are overlooked. Knowing the common pitfalls ahead of time saves both material and effort.
One of the biggest motivations for building a handmade sandwich panel is cost savings, especially for small projects. Factory panels come with manufacturing overhead, transport costs, and minimum order requirements that don't make sense for a single shed or small extension. By sourcing your own core and skin materials locally, you can often cut costs by 20 to 40 percent, though the trade-off is more labor and a slightly less uniform finish compared to industrial production lines.
That said, for large-scale commercial builds where hundreds of identical panels are needed, factory-made panels usually become more economical due to bulk pricing and consistent quality control. Handmade panels shine best in small to medium projects where flexibility and customization matter more than mass production speed.
A well-built handmade sandwich panel can last for many years if you take a few simple maintenance steps. Regularly inspect the edge seals for cracks or gaps, especially after harsh weather, and reseal promptly if you spot any openings. Keep the outer skin clean from dirt buildup, since trapped moisture against the surface can accelerate corrosion on metal skins or rot on wood-based skins. If you notice any soft spots or bulging on the panel surface, it's a sign that moisture has reached the core, and that section should be repaired or replaced before the damage spreads further.

Follow Us:
 Call us :
  Mail us to:


 English
 中文简体
中文简体